
Google Sheets is a free, web-based spreadsheet programme offered by Google that allows you to create and edit spreadsheets online. It's a powerful tool for organising, analysing, and sharing data, and is used by millions of individuals, businesses, and organisations around the world.
Capturing customer data through your website is a critical component of any successful digital marketing strategy. This information helps you understand your target audience, their needs, and how they interact with your website.
Connecting your pop-ups with Google Sheets is a smart move for any business. By doing so, you can easily collect and store customer data in a centralised location, making it easier to analyse and make informed decisions about your marketing strategies.
By capturing customer data through your website, you can gain valuable insights into your target audience and make data-driven decisions about your marketing strategies. By connecting your pop-ups with Google Sheets, you can easily collect and store customer data, automate the data collection process, and make informed decisions about your marketing efforts.
Choose the most reliable and high-quality popup solution for your Google Sheets.
Why Serviceform Smart popup is the best for Google Sheets
- Offer coupons, smart bundles, free shipping, upsell, and cross-sell related items to reduce cart abandonment.
- Encourage visitors to take specific actions such as subscribing to your newsletter, learning about your expertise, or downloading a lead magnet.
- Serviceform offers dozens of widgets and fully customisable branding options to make your popups unique.
- Serviceform simplifies getting the most out of your web data and offers unparalleled customer success and support.
- Keep an eye on your website and popup's performance with built-in analytics, at no extra cost.
- Have our team build and install the popups, allowing you to focus on growing your business.
- Get inspired with a library of over 500+ tested and proven templates, available for you to use for free.
Step 1. Create your Serviceform account
Start by creating your free Serviceform account. After that, you can generate your Serviceform pixel in the box below. To start, type your website URL and select "START NOW".

Step 2. Install the free popup on your website
Using HTML
If you're a tech-savvy person or have a developer in your team, it's easy to add a Serviceform Popup to your website using HTML.
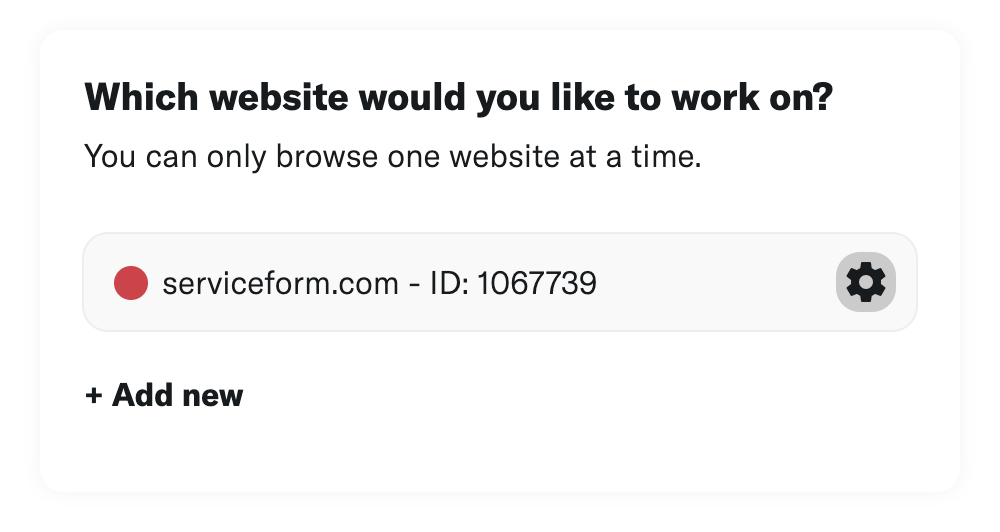
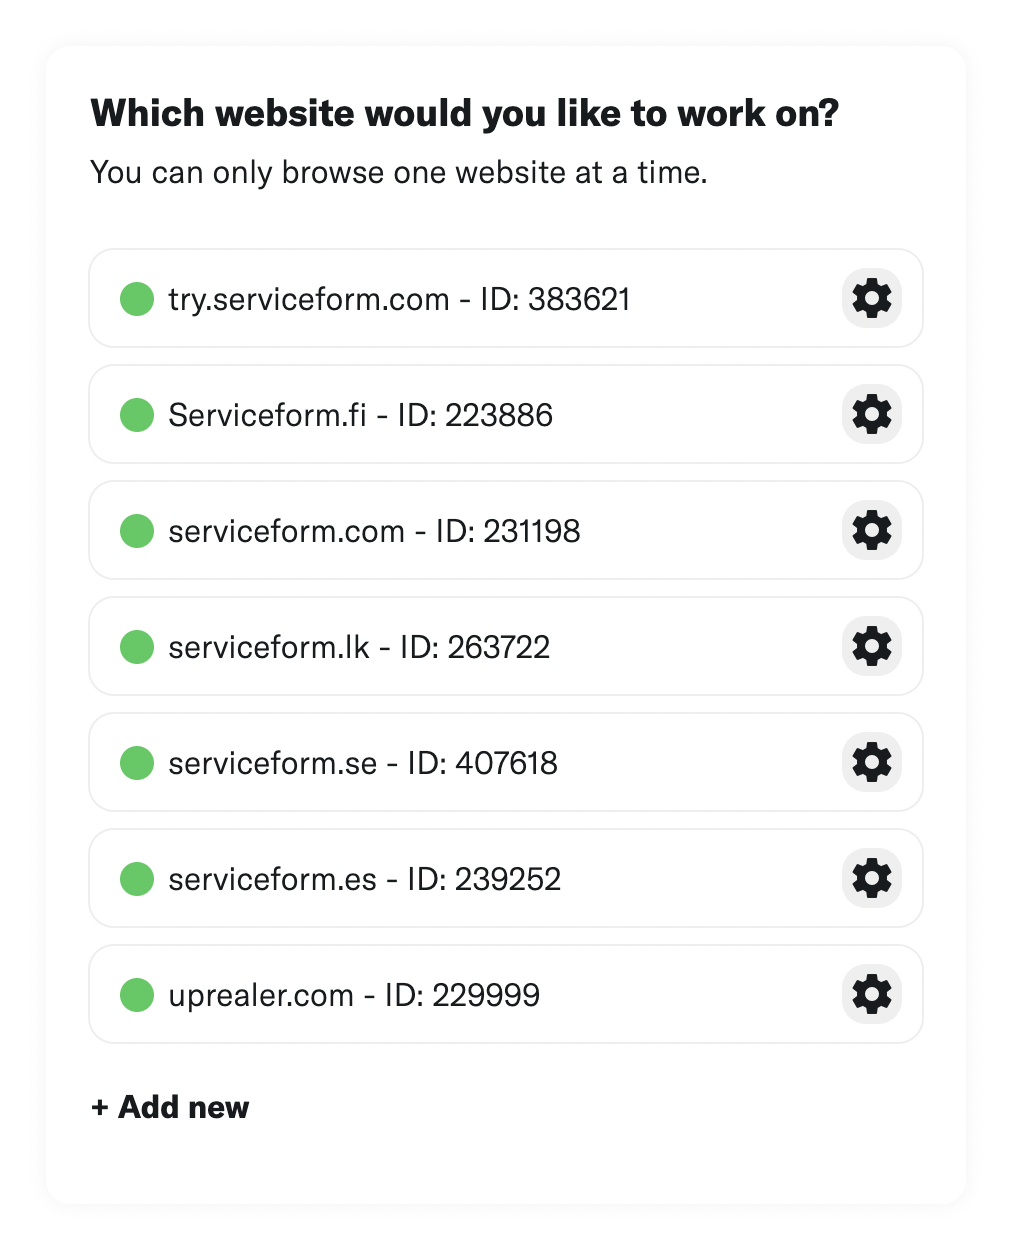
To start, click on the website you’ve set up on your Serviceform account and select settings.
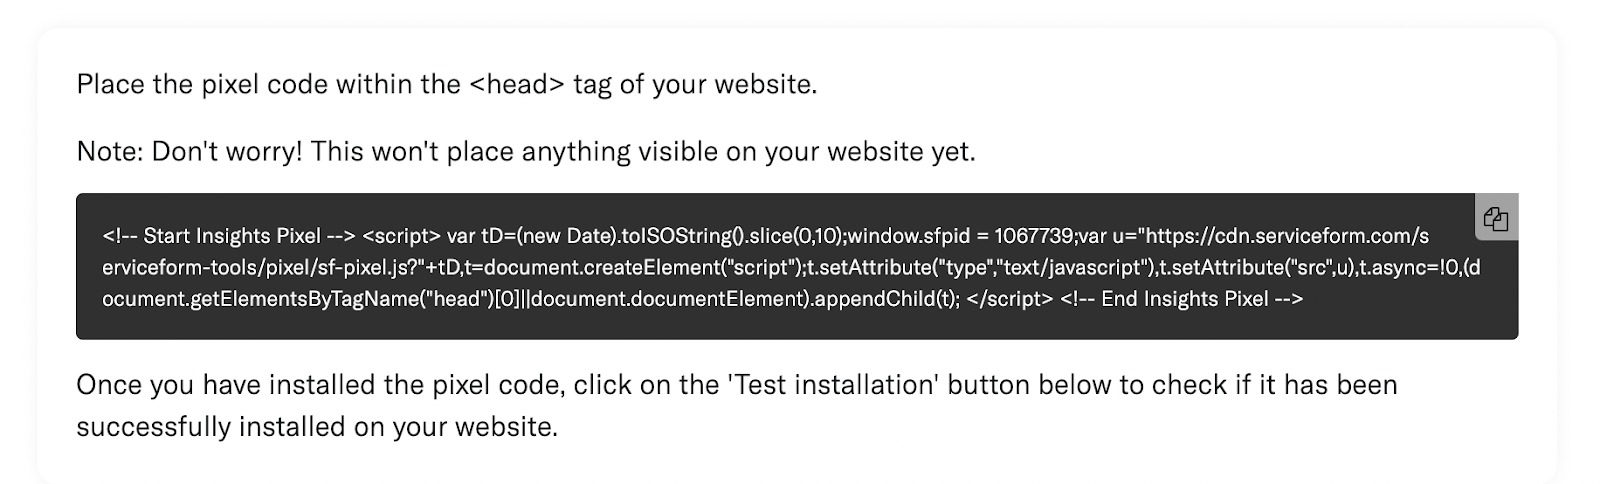
Then, copy the pixel code and paste it on the header tag section of your website.
Voila! Your website just got a lot cooler with Serviceform’s Popup.
Using Google Tag Manager
No worries if HTML isn't your thing. Installing the Serviceform pixel onto your website using Google Tag Manager is easy.
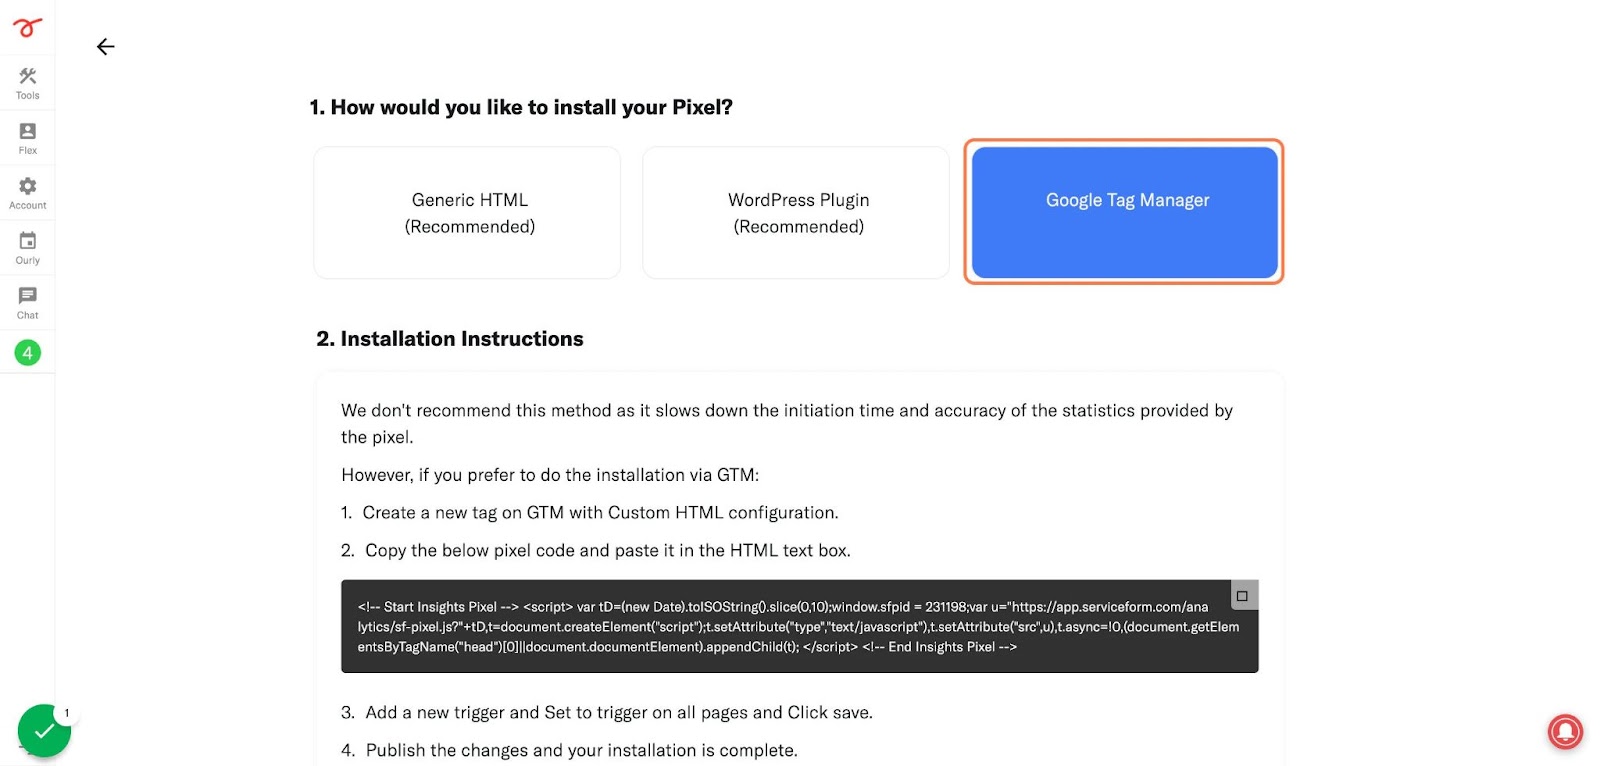
Simply choose the option to install via Google Tag Manager in your Serviceform account, then copy your unique pixel code.
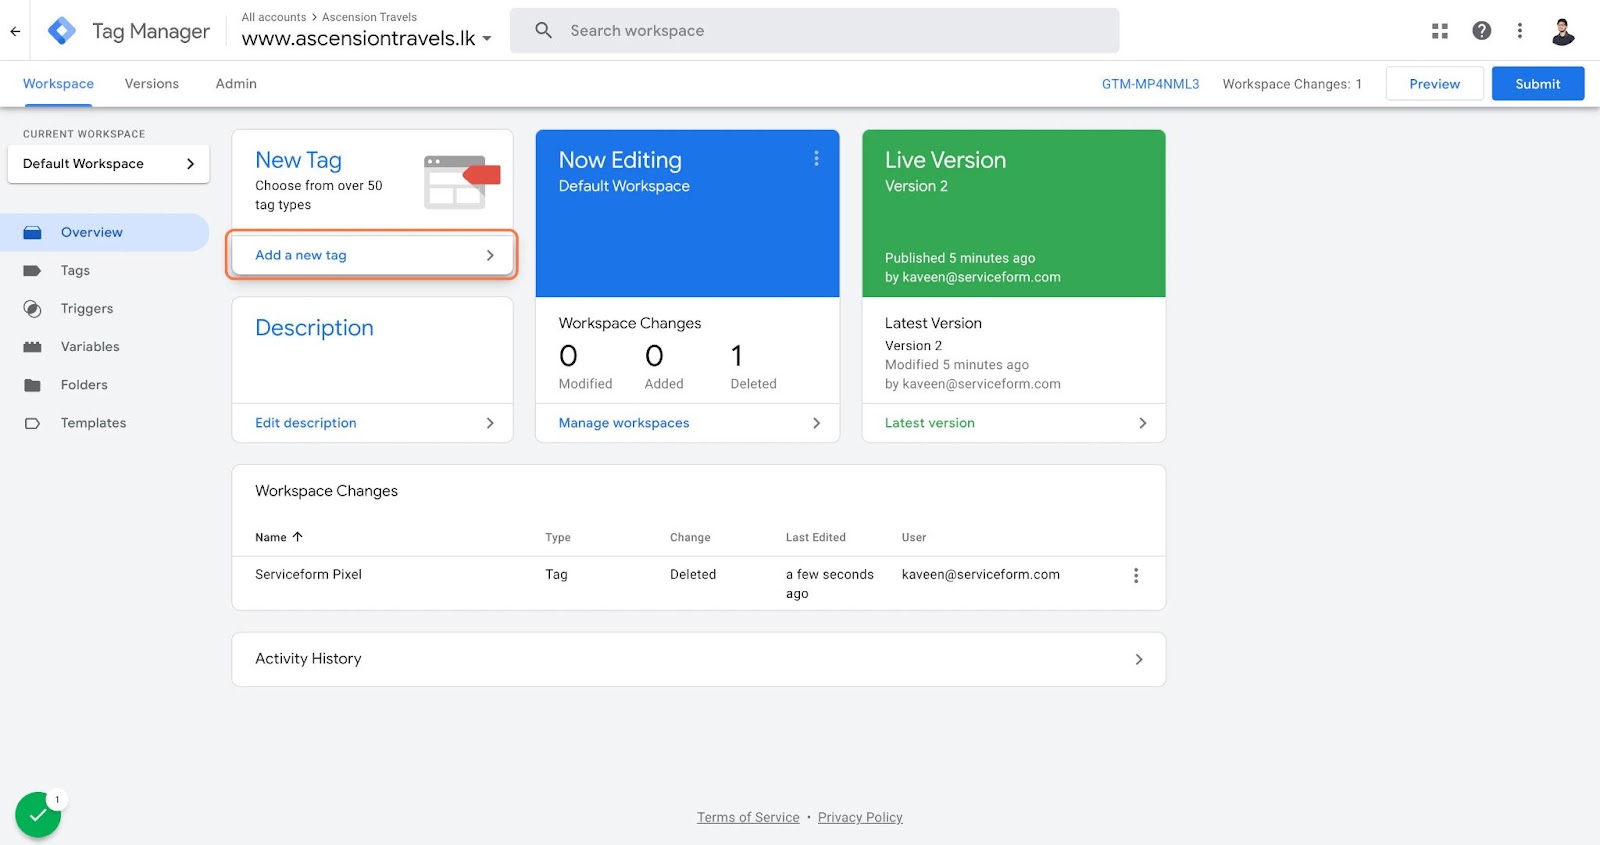
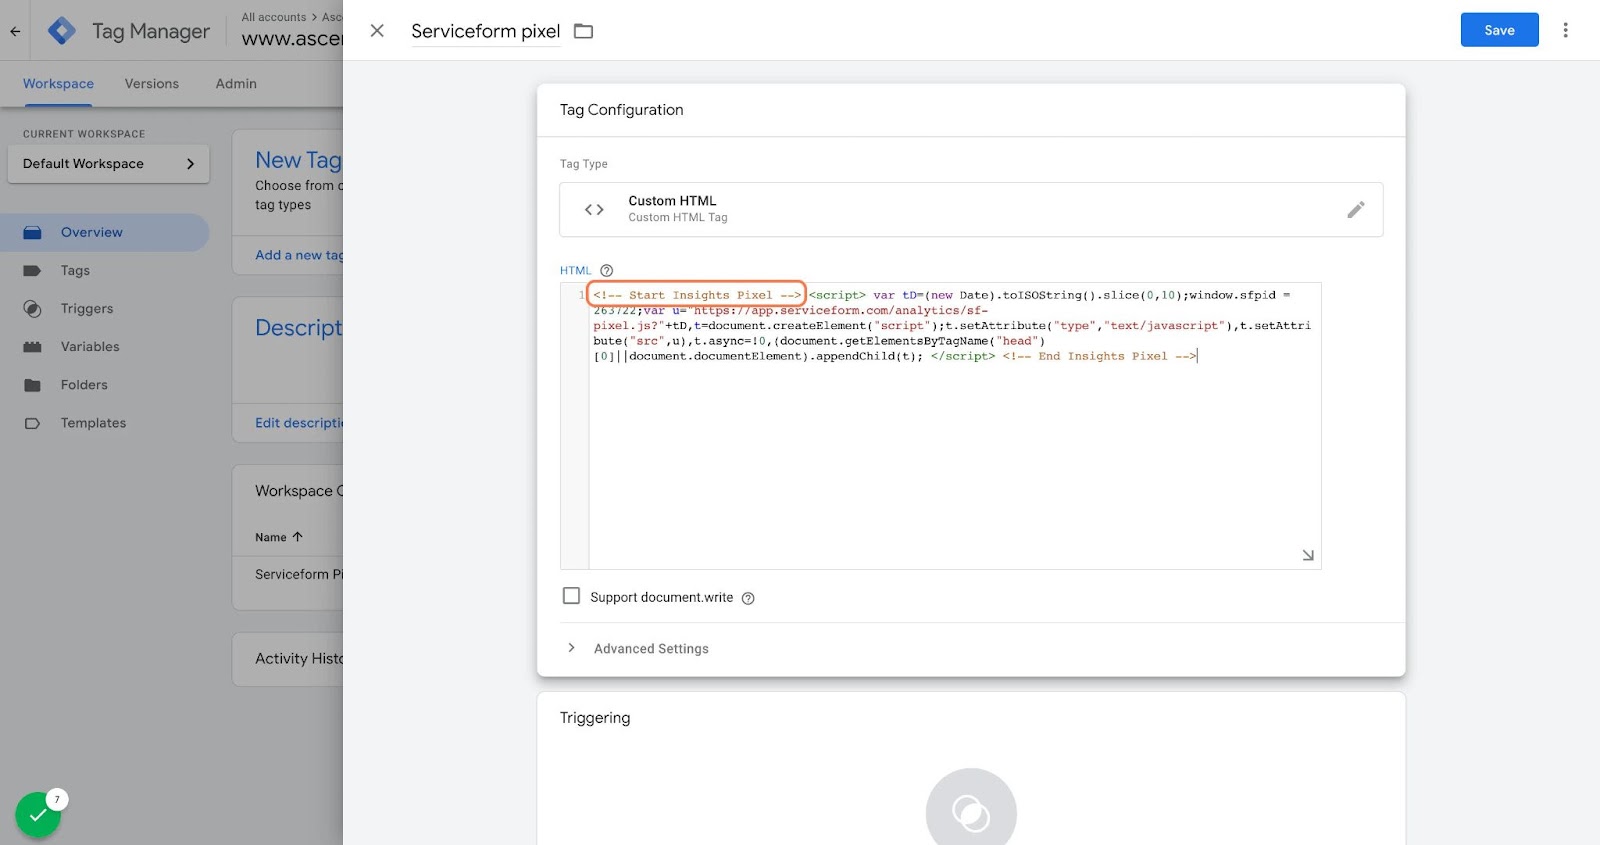
Next, head over to your Google Tag Manager account and create a new tag. Then name your tag.
Once you've named your tag, head to the tag configuration and choose custom HTML from the drop-down menu. Then, simply paste the Serviceform pixel code you copied earlier into the code area.
Then click on ‘triggering’ and select ‘all pages.’ Then save your work and press submit. In the submission configuration screen, type ‘Adding Serviceform pixel’ into the ‘Version name’ area, and you’re all set.
Step 3. Test if your Serviceform pixel is live
You can check if your pixel is active by looking at the top right corner of your dashboard.
If you see a green circle, that means it's active and ready to go. But if you see a red circle, it means it's not active yet. No worries, just give it a quick check and get it up and running in no time.
Step 4. Connect your popup with Google Sheets through Zapier
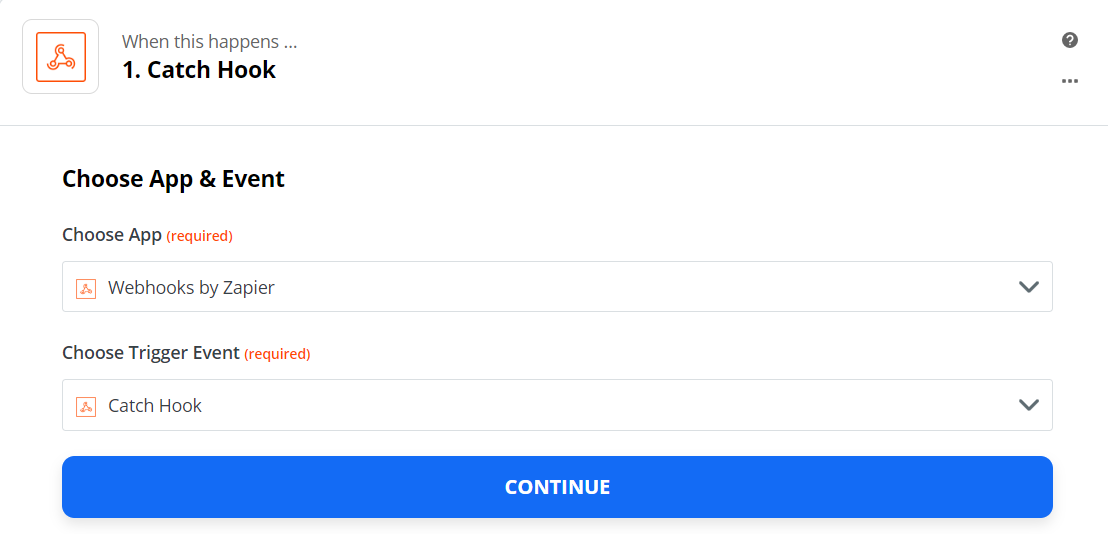
Once logged in, click on the option to create a new Zap. In the next step, select “Webhooks by Zapier” under the “App & Event” section, trigger the event “Catch Hook” and click “Continue”.
Copy the webhook URL from the popup's settings, then go to the preview and submit a test to see if the webhook correctly tracks your submission.

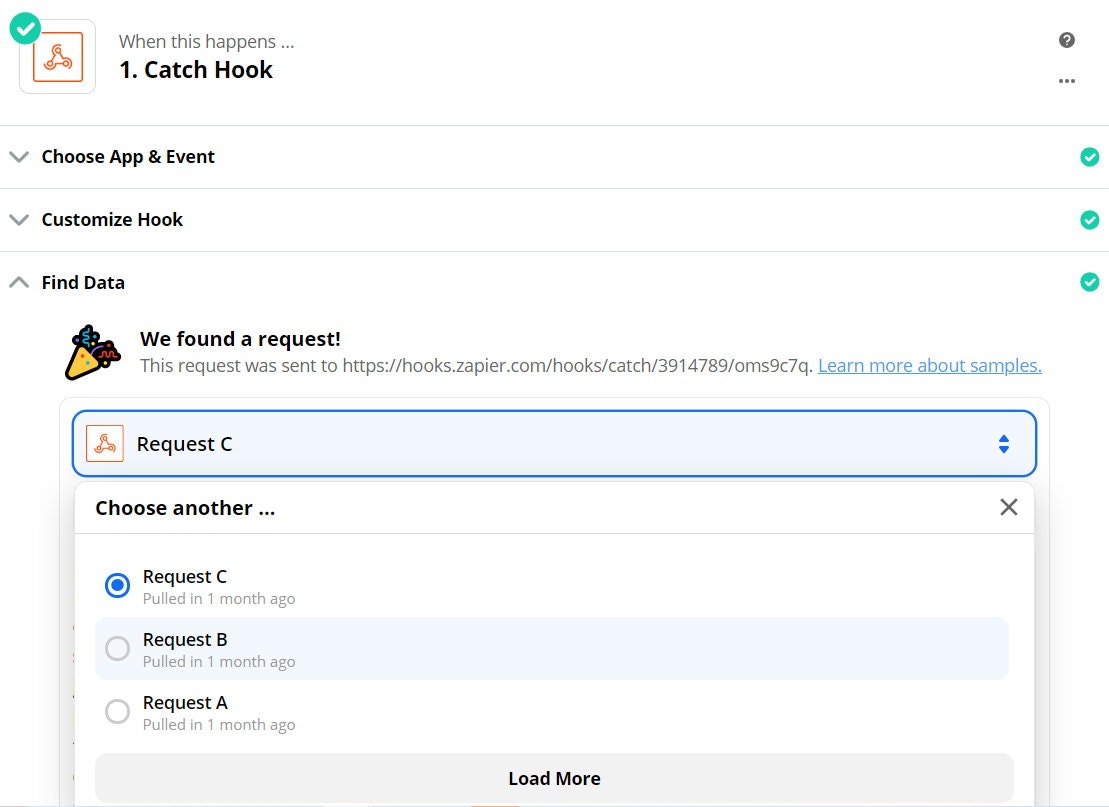
On Zapier, go to “Test & Review”, and choose the request you want to monitor.
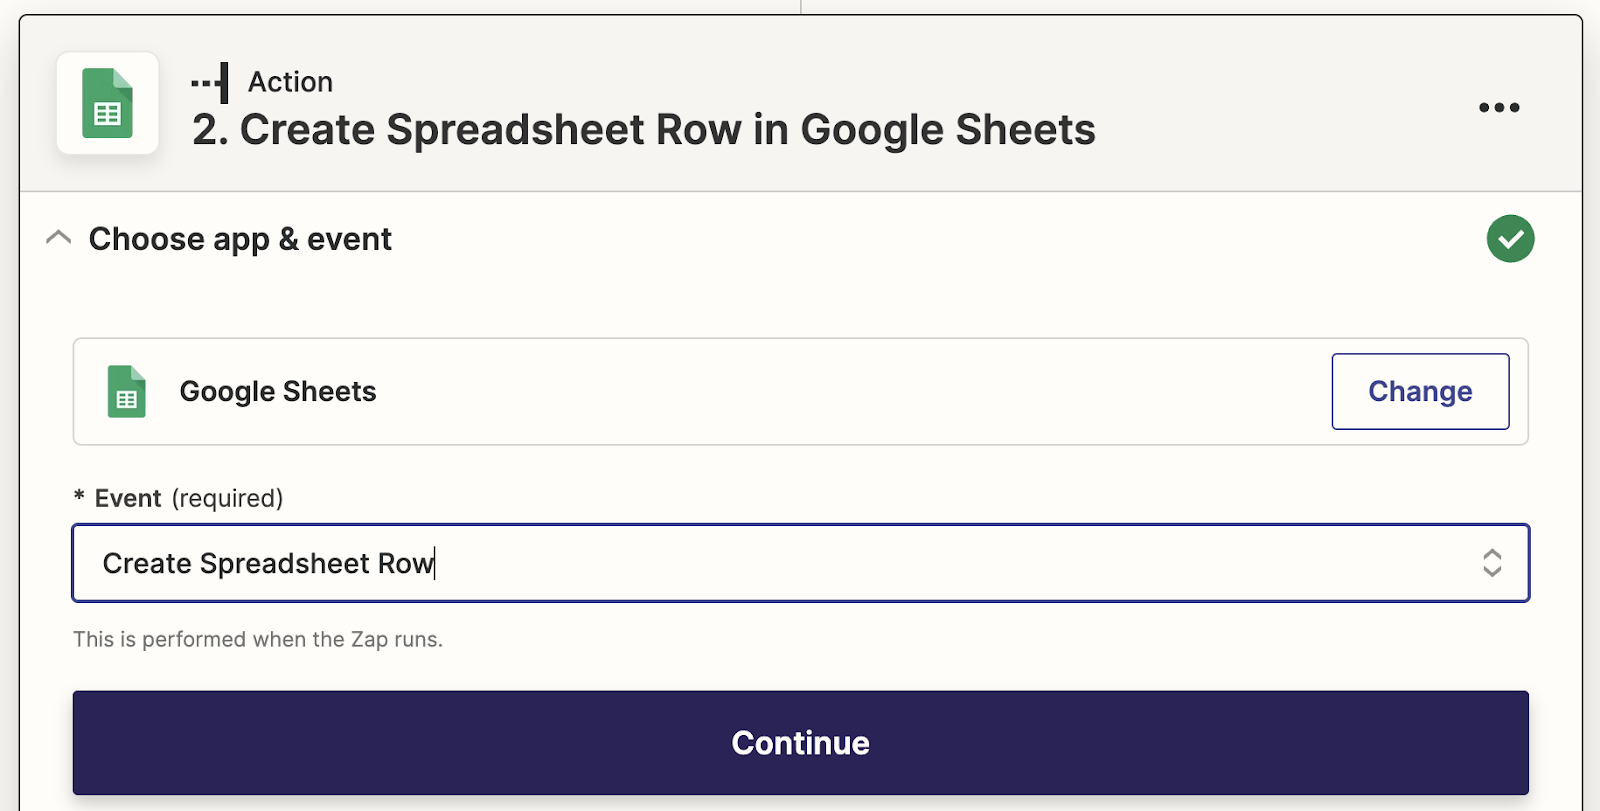
Now at the next step, select the Google Sheets app and choose the “Create or Update Contact” action event. Proceed by selecting “Continue” and then pick your Google Sheets account.
If you haven't connected your Zapier account yet, go to “Edit Accounts” and log in. Next, proceed to “Customise Contact” and fill in the necessary fields for successful integration with your Google Sheets account. Once you have completed the desired information, select “Done Editing” and run the final test.
Congratulations! You're now ready to go. You can run tests, set up email notifications, and more.
Each time a customer completes a flow through the popup and submits their information, that data will automatically be added to your Google Sheets account.


.png)


.png)


