




Dynamic form design
This article will provide you an understanding about the design settings.
Designing a Dynamic form
In the tools builder, under the design tab you can find all the settings related to the Dynamic form’s design:
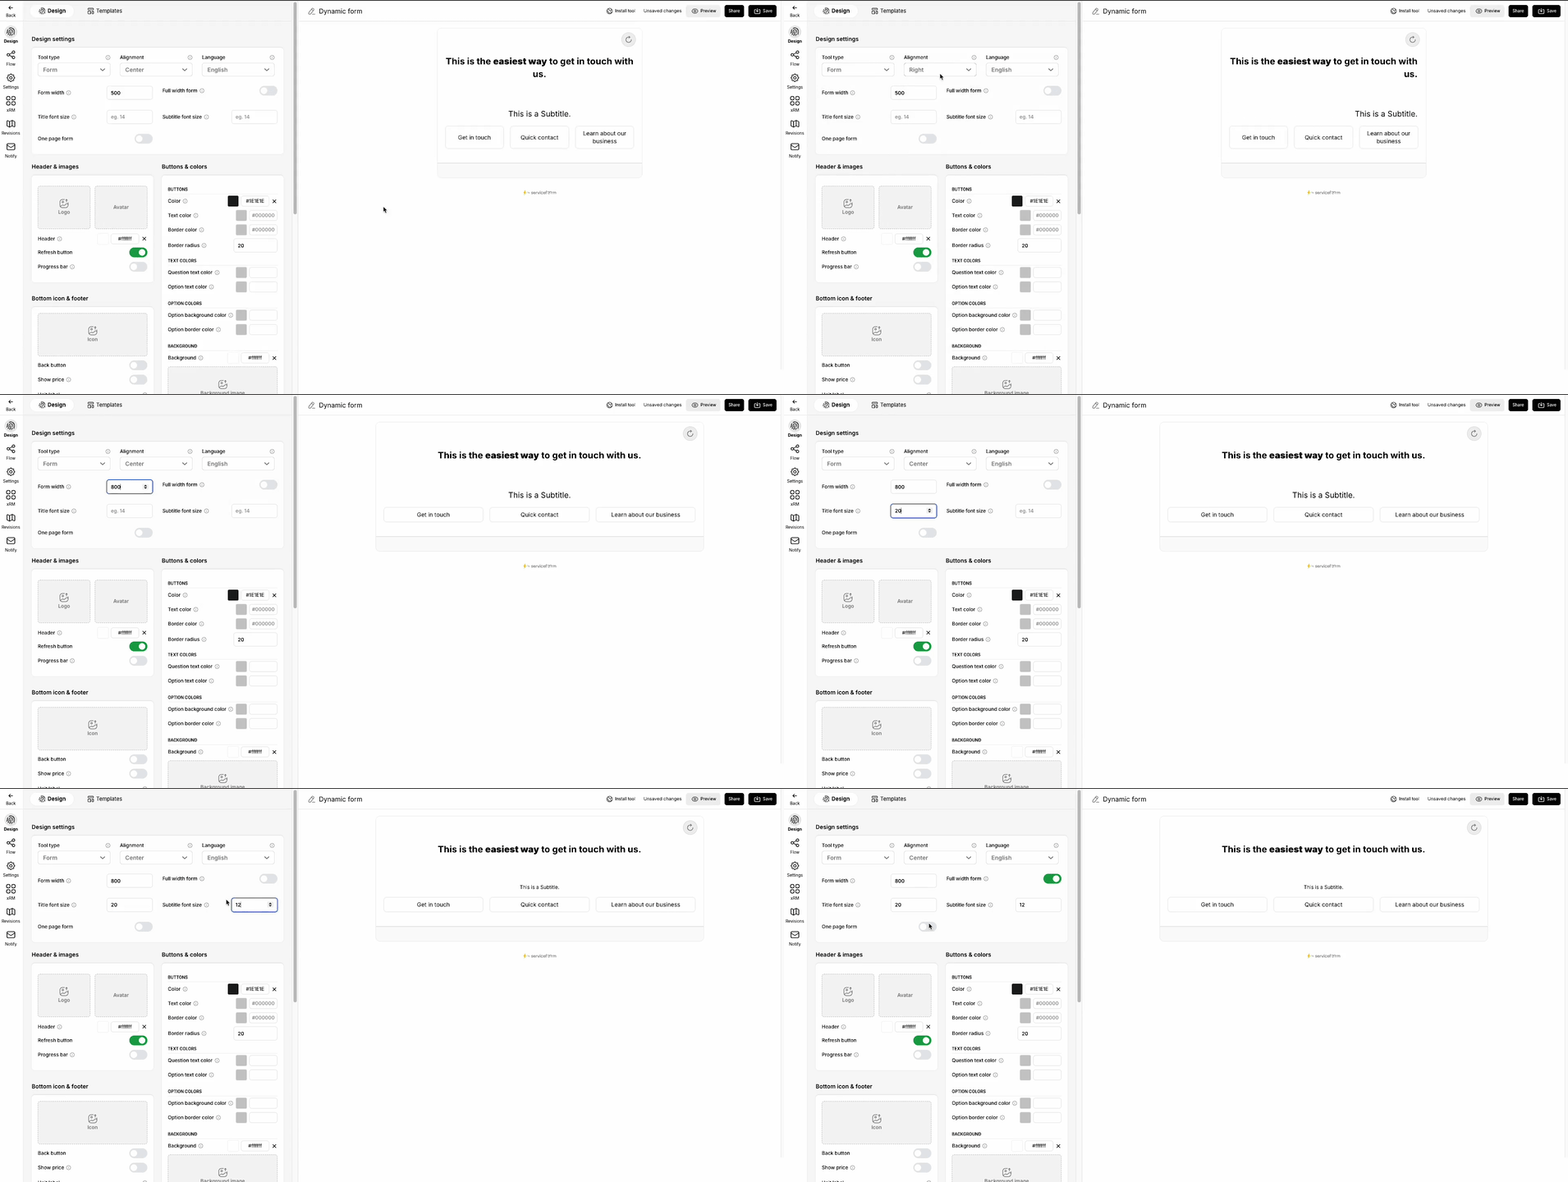
• Design settings
- Switch the tool type, text alignment, and the language based on your preference.
- Set the form width (in pixels). Default width is 500px.
- Enabling One page form would display all the questions in a chronological order at once.
- Title and subtitle size can be adjusted according to your preference.
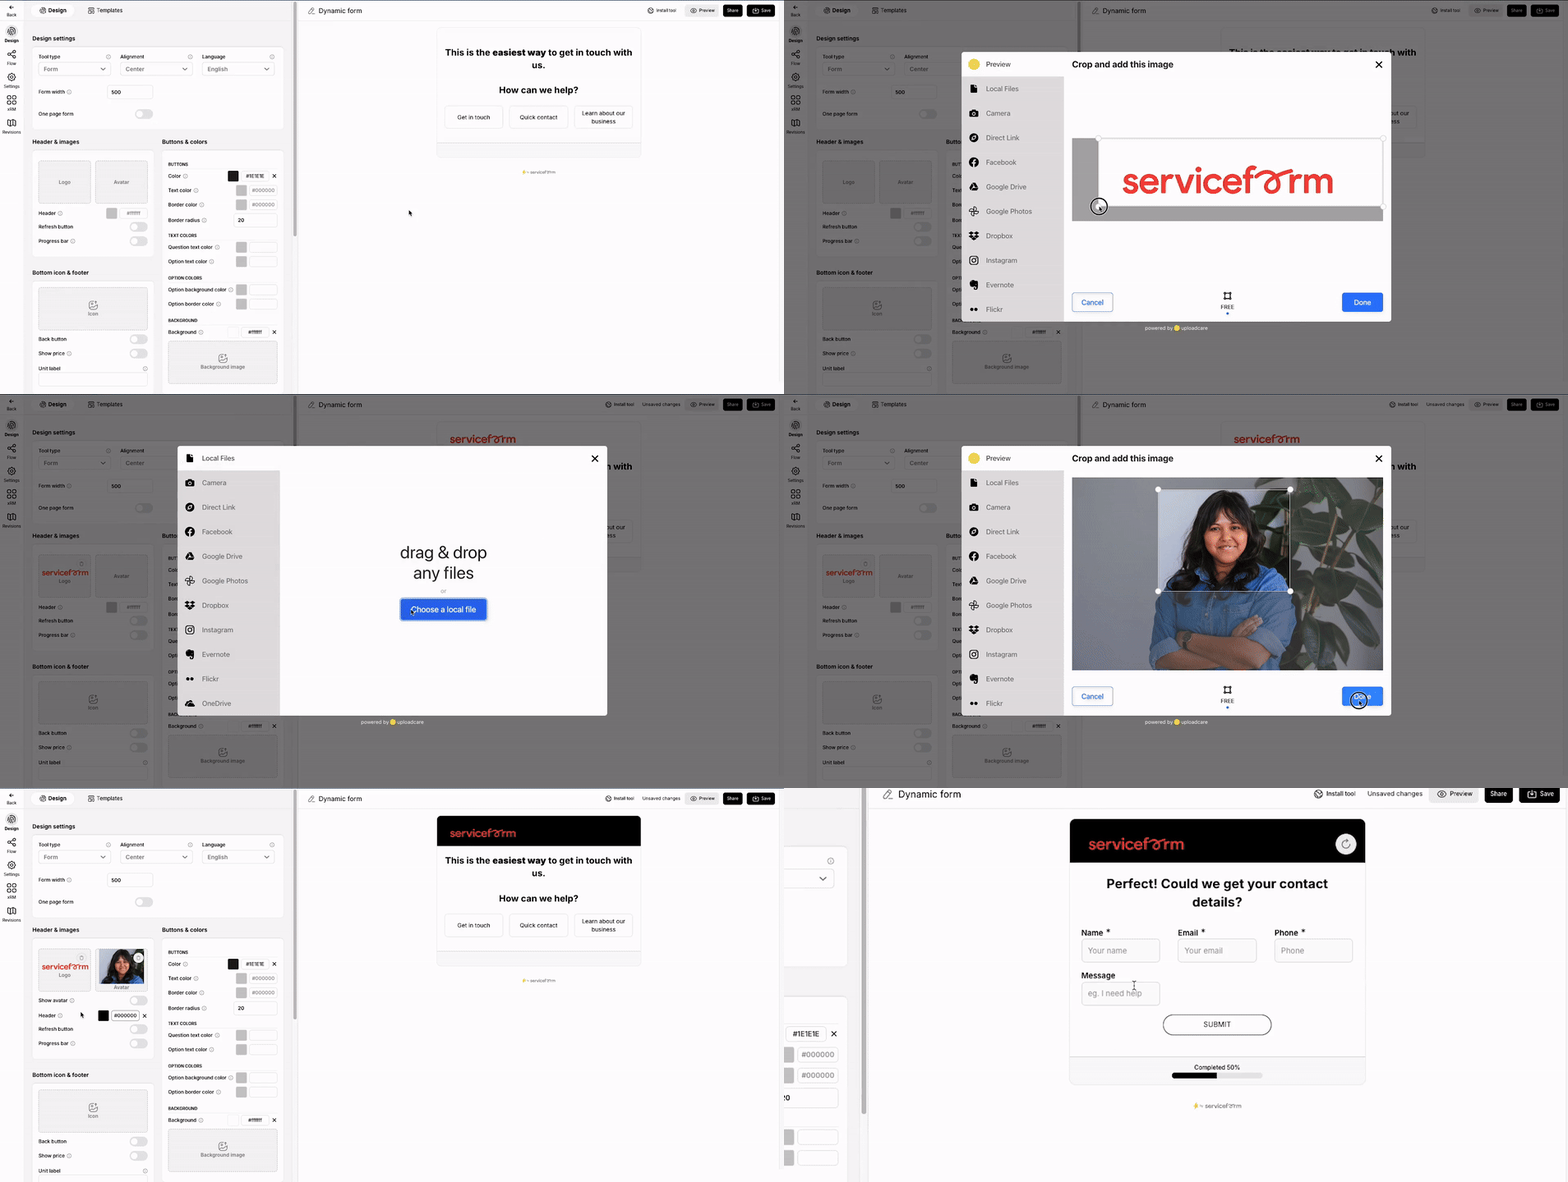
• Header & images
- You can upload the logo and the avatar.
- You can set a color to the header.
- You can enable/ disable the avatar, progress bar and refresh buttons.
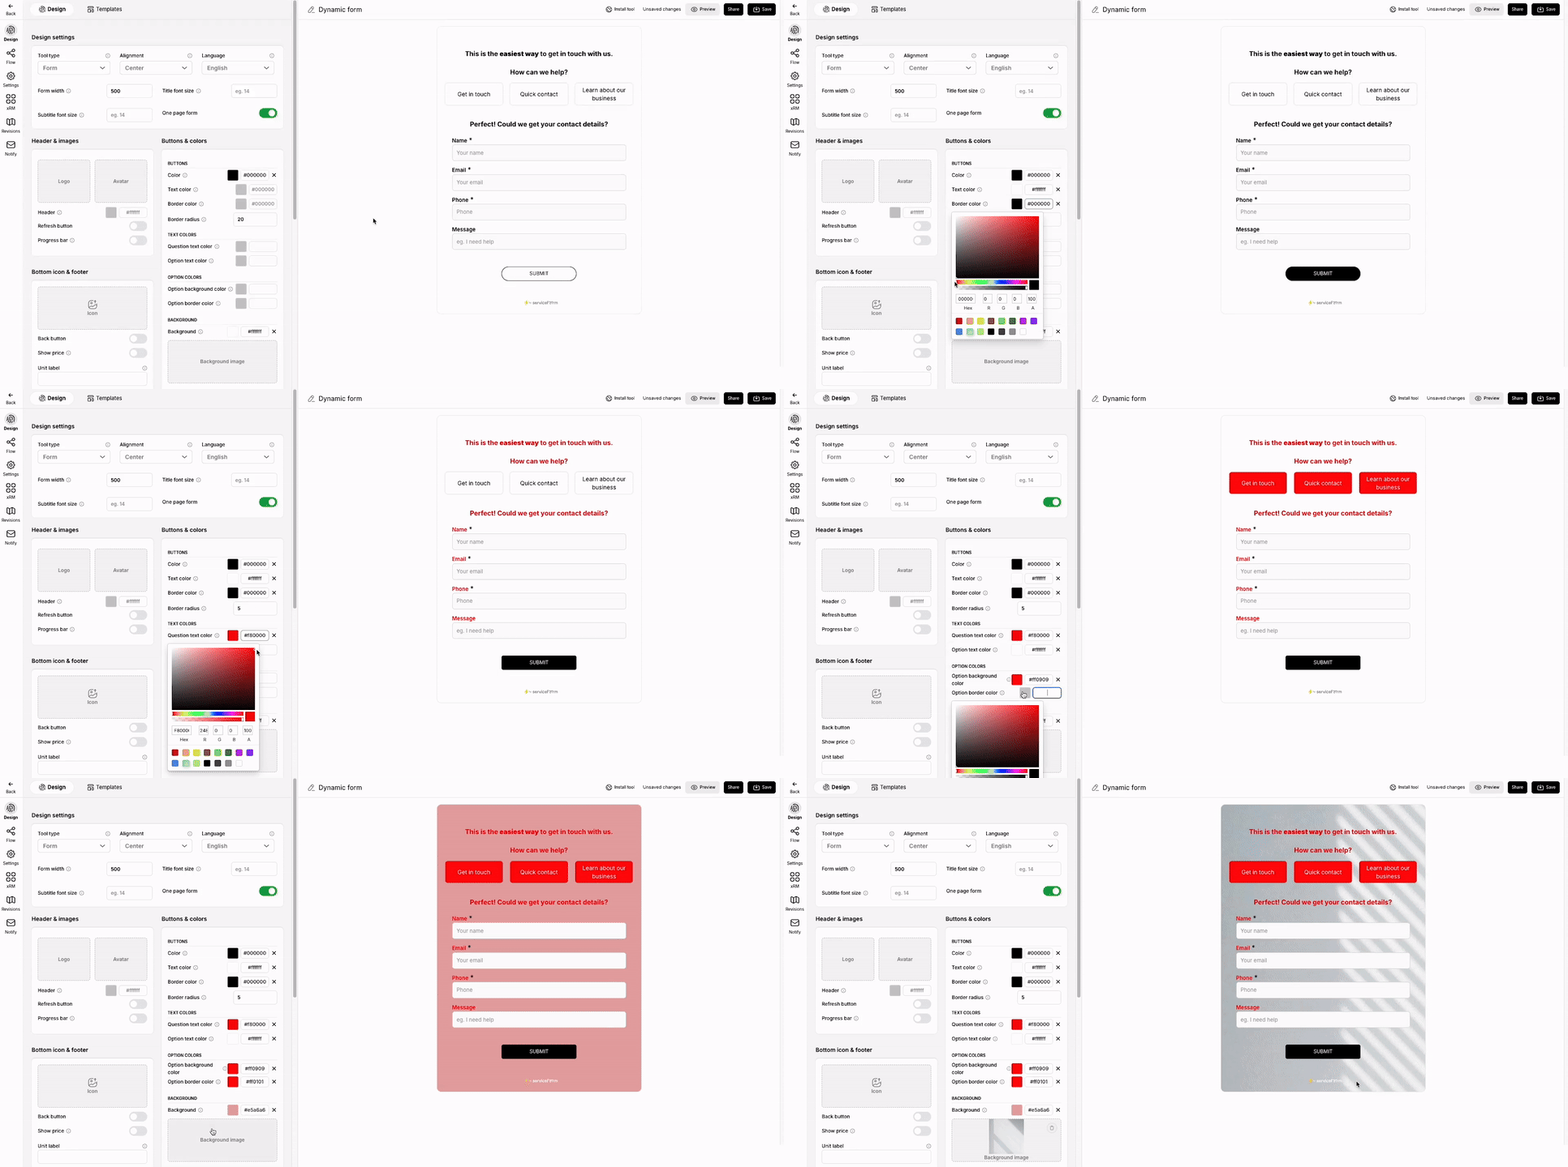
• Buttons & colors
- Set the font color for questions and options,
- Set the background and border colors to the buttons and adjust the border radius.
- Set a background color for the form.
- Alternatively, you can set a background image.
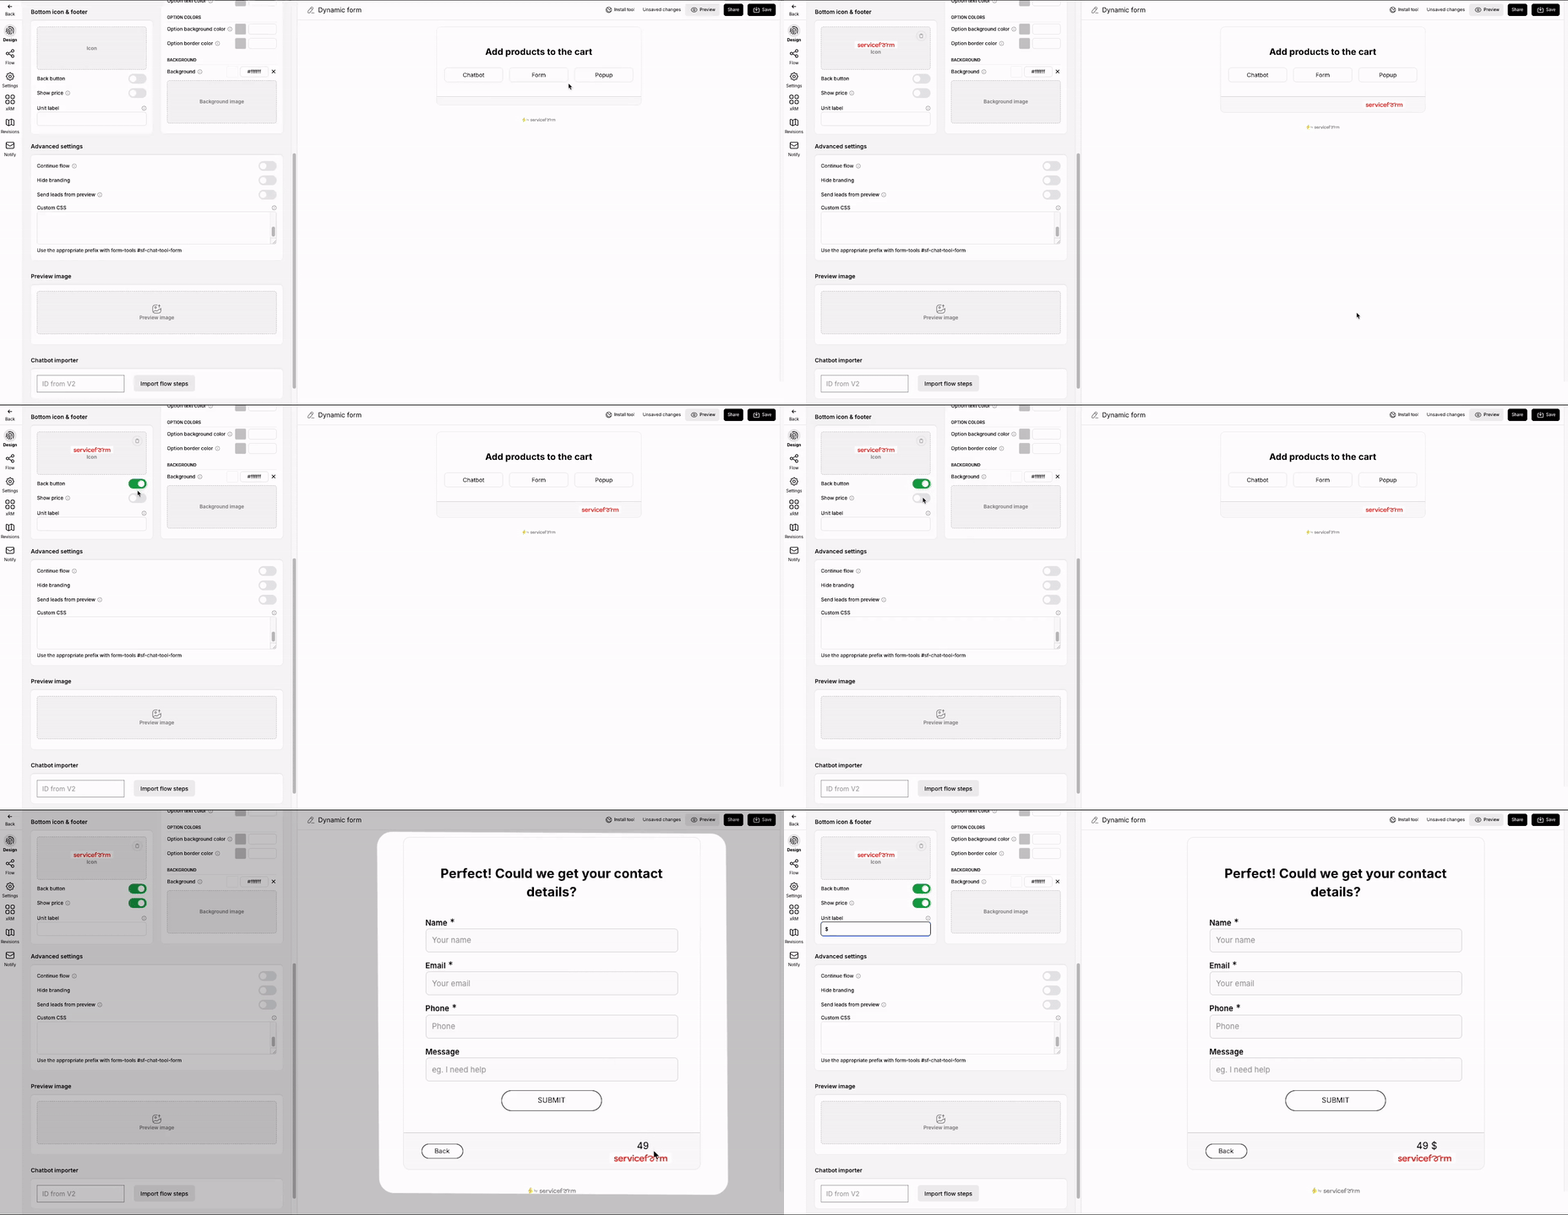
• Bottom icon & footer
- You can either have an icon or text as the bottom icon.
- Set a font color for the Icon text.
- Enable/ disable back button to allow the users to navigate back to the previous page on the form.
- Enable/ disable the Show price toggle to display the values set in the chat flow via actions (If there is any).
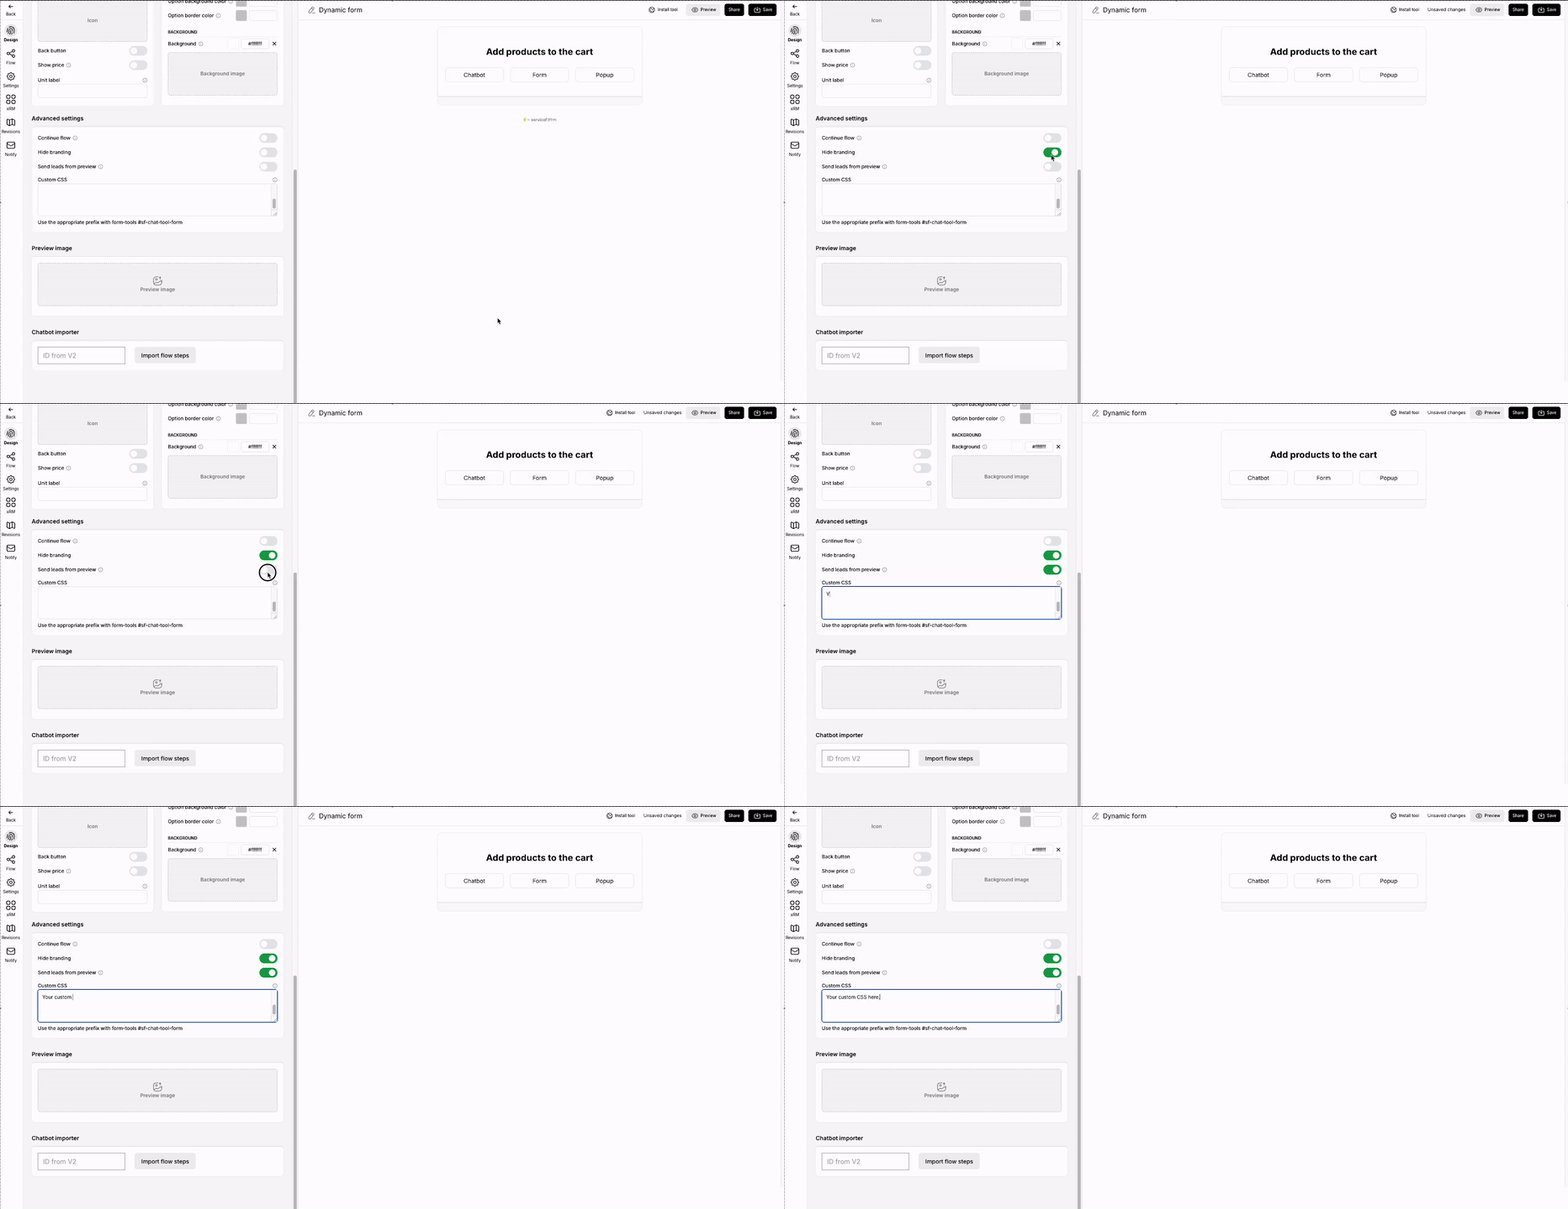
• Advanced settings
- Set the visibility of the Serviceform branding by toggling the Continue flow.
- Enable/ disable leads from the Preview link. By default, it will be disabled.
- Add custom code to modify the form’s elements.
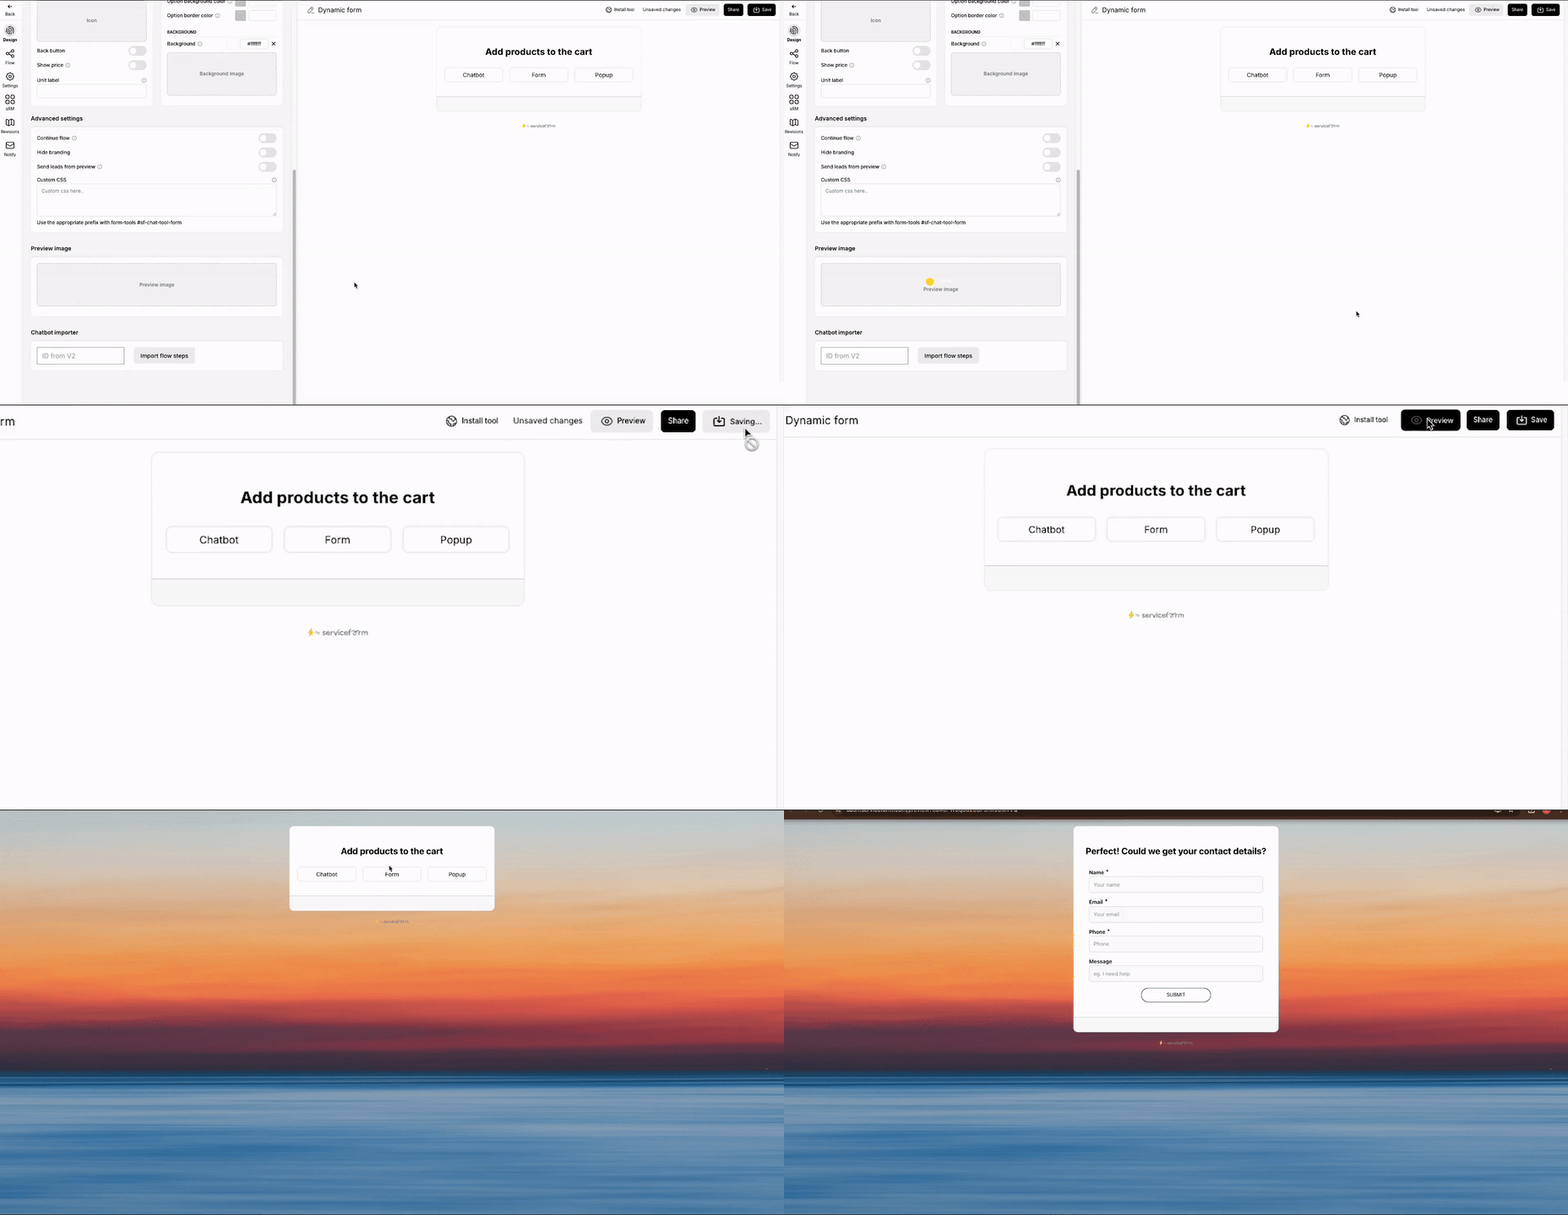
• Preview image
- Upload an image to set it as the background of the preview window.
Customizing a Dynamic form is easy and lets you adjust the design to match your needs. From design settings to advanced options, you can create a smooth and attractive experience for your users.